Part 1
The model railroading hobby comprises many
aspects of other hobbies including carpentry, electronics and, with respect to
creating believable scenery, aspects of art and craft techniques. The creation
of scenery involves many raw materials such paint, styrene, plaster, stains,
ink, wood, plants, ground foam and static grass. Some of these may be purchased ready to use
and others may be made by the hobbyist – in later posts I shall outline how I
create my own ground foam, static grass and ground cover matting.
Another key
part of creating believable scenery comes from buildings, vehicles and models
of other man-made objects and structures. It is hard to have too many details in
a model railroad scene. As with certain raw materials, objects and structures
may be purchased commercially in kit or ready-made form while others may be
scratch built.
My good friend, John F. who lives in
Calgary, built his own 3D printer a few years ago. Each time we visit John and
his wife Hilda, John has created some new item with his printer. John is not a
model railroader. His principal hobby is ham radio. He designs and builds
various apparatus that add to his enjoyment of the hobby. Often one or more of
the components or even moving parts are printed on his 3D printer. John has
been encouraging me to get into 3D printing.
The only thing that had been
holding me back until now is that I didn’t want 3D printing to turn into a
hobby unto itself. I had no desire to build my own 3D printer using parts from
China or even to purchase a kit and assemble it myself. I wanted to purchase a
3D printer, plug it in, turn it on and be able to print detail objects for my
model railroad hobby within less than 30 minutes. I knew that having a 3D
printer would also come in handy for making parts to repair or improve various
household items.
In May 2019 we spent a week at a condo in
the Columbia Valley of British Columbia. Being an early riser, I have up to
three hours of quiet time to myself each day before the rest of the family wake
up. I researched 3D printers online with the aid of
websites such as Luke Towan’s Boulder Creek Railroad https://www.bouldercreekrailroad.com/
and YouTube.
My research helped me decide that I would purchase my first 3D
printer if I could find one that met the following criteria:
- Cost less than C$1,000 – I
didn’t want to spend a lot of money only to find that the printer wasn’t as
useful as I had hoped.
- Be completely “plug and play” –
I wanted a relatively short learning curve not only to operate the printer but
also to be able to design my own parts.
- Use material that can be easily
glued to itself, to styrene or wood – as many of the items I would be making
are to be affixed to other objects on the model railroad it must be easy to
fasten them.
- Use material that can easily be
painted using acrylics, oils or spray cans.
- Use material that does not
produce noxious or dangerous smells.
- Use material that cannot spill
and damage flooring – the most logical location for my 3D printer is on top of
a metre-high bookshelf located just outside my model railroad room because it
is in close proximity, is not dusty environment and any noise created by the
printer would not be bothersome (many larger or more complex objects can take
several hours to print).
- Have a very high printing
success rate – I didn’t want to be wasting my time with a lot of trial and
error.
- Use very easy to use software
to slice the objects and do the printing (this software can be different from
the software used to design the objects).
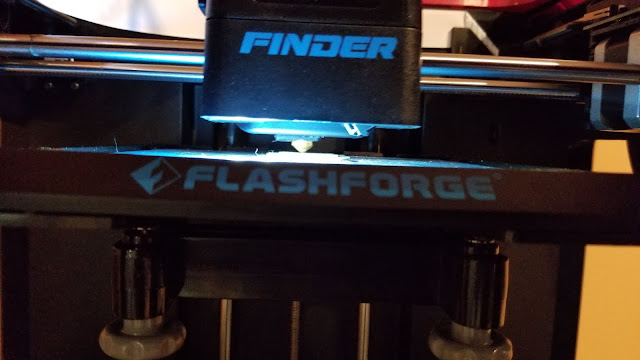
Here are a few of the 3D printers I considered:


